


have just a few beads leftover from a previous project? need a small accessory to go with a specific outfit? don't have time to design a whole necklace? wire-wrapped rings may just be the thing for you...
these basket wire-wrapped rings take almost no time at all to create, can be customized to any size, thickness, or design.
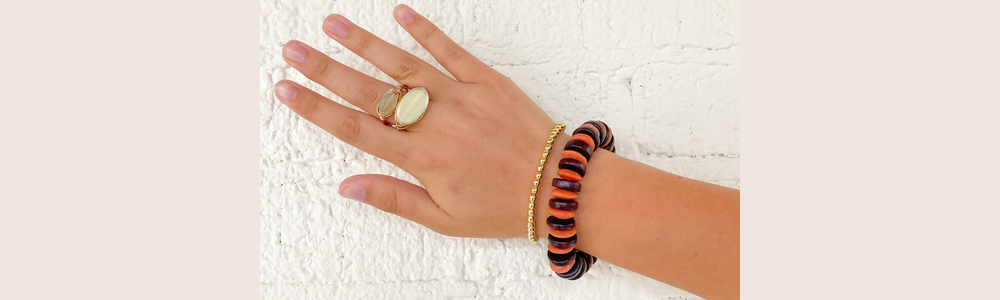
in the rings pictured, we used 24G non-tarnish gold wire, various chinese crystal beads, & one gold butterfly bead, all available below under products listed. however, you could create these rings with any beads of your choosing or with other finishes of wire.

for more info on different types of rings, check out our start here: all about rings. for more info on working with wire, check out our mad skills: wire-wrapping.
to create these rings, all you need are your selected beads, 24g non-tarnish wire of your choosing, cutters, a ring mandrel, & pair of flat nose pliers. all supplies are available on our site & are linked below!
STEP 1: PREPARE WIRE

cut a length of wire that is approximately 2-3 feet. depending on your ring size or intended aesthetic, you may need less or more than this length, but it is a good starting point. our 24 gauge wire comes with 90 feet per spool, so don't worry - you'll have plenty to work with.
use your hands to wrap the wire around the desired band size 4-5 times. wrapping it less than 4 times is totally do-able, but will make your ring a little less sturdy, so just keep that in mind. wrapping the wire more than 5 times makes it thick enough to feel pretty noticeable, so keep that in mind if you want a thicker look. do your best to keep the wire as close to itself as possible so that the ring stays as secure as possible.
STEP 2: SECURE THE RING

carefully slide the layers of wire off of the mandrel. do your best to keep them close together. take the tail of your wire & loop the tail through the layers of the wire. wrap the tail around the wire layers several times to create a secure segment that keeps the wire together without you having to hold it. you can use a pair of pliers to help pull it tight if necessary. this gets easier with practice!
STEP 3: ADD YOUR BEADS

next, string your beads onto the tail of the wire. we used five 3mm beads for this ring, but the size & number of beads used is totally dependent on your personal preference.
STEP 4: SECURE THE BEADS

once on the wire, push the beads up to the wrapped segment that you previously created. after the beads are snug to that wrapped segment, repeat the same kind of wire-wrapping on the other side.

use the tail of the wire to wrap around the base of the beads, from one of the wire-wrapped segments to the other. standardly, we just go around & around until happy with the the look, usually about 4-5 times. just like the band, this can be adjusted for any desired look!
STEP 5: TRIM OFF EXCESS WIRE

once you are happy with the look of the ring & it the beads are secure, repeat the type of wire-wrapping we started the ring with, where the tail goes around the layers of the wire that form the band. depending on how large the beads used are, or how many were used, you might not need to do this, but in our ring we ended up covering up the original wrapped segment with our beads. once you have evened out the look, cut off the remainder of your wire tail & tuck it under the ring or anywhere that will not poke the wearer.
ta-da! you just made a ring! now make a million!
What Do I Need to Make My Own Wire-Wrapped Cocktail Rings?
- one strand of 3mm Thistle Crystal Rondelles (or beads of your choice, but that's what we used in the above images!)
- one spool of 24g Gold Non-Tarnish Wire
- Designer Wire Cutters
- Flat Nose Pliers

